Statuarietto Polished Marble Tile 12×12: A Brief Dive into Its Rich Heritage
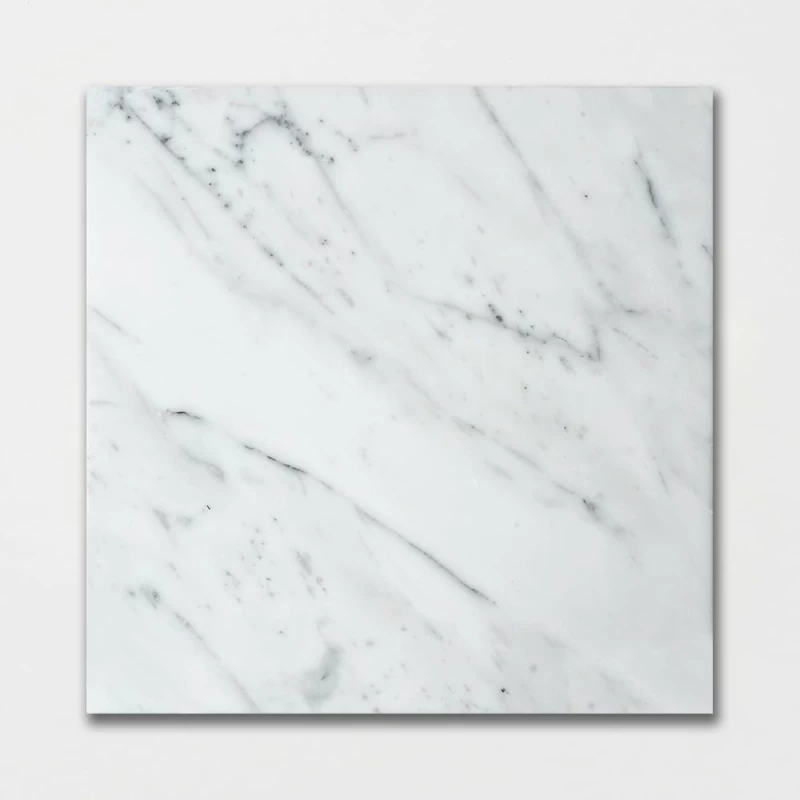
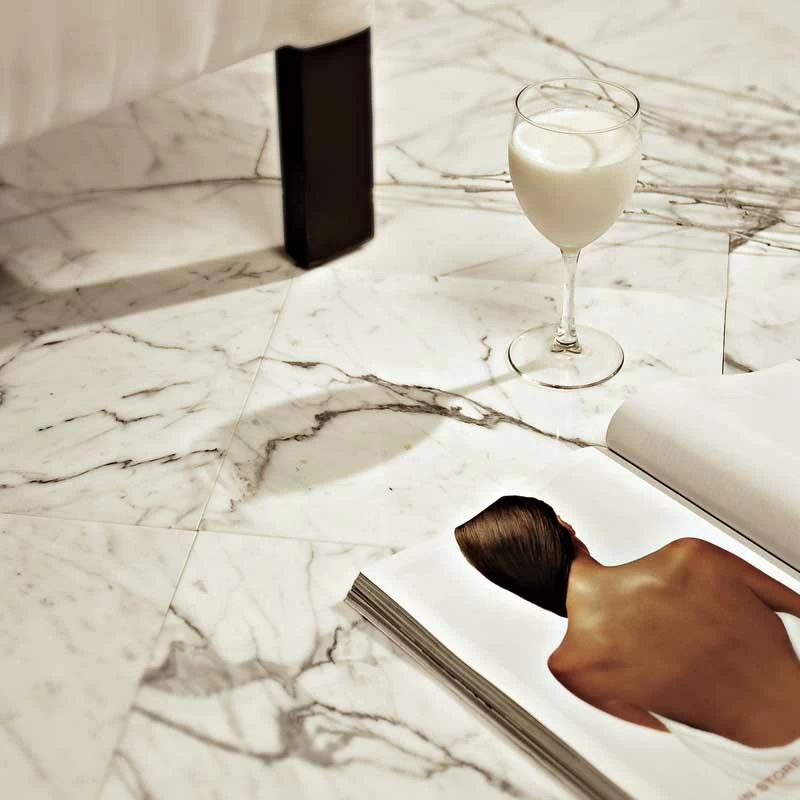
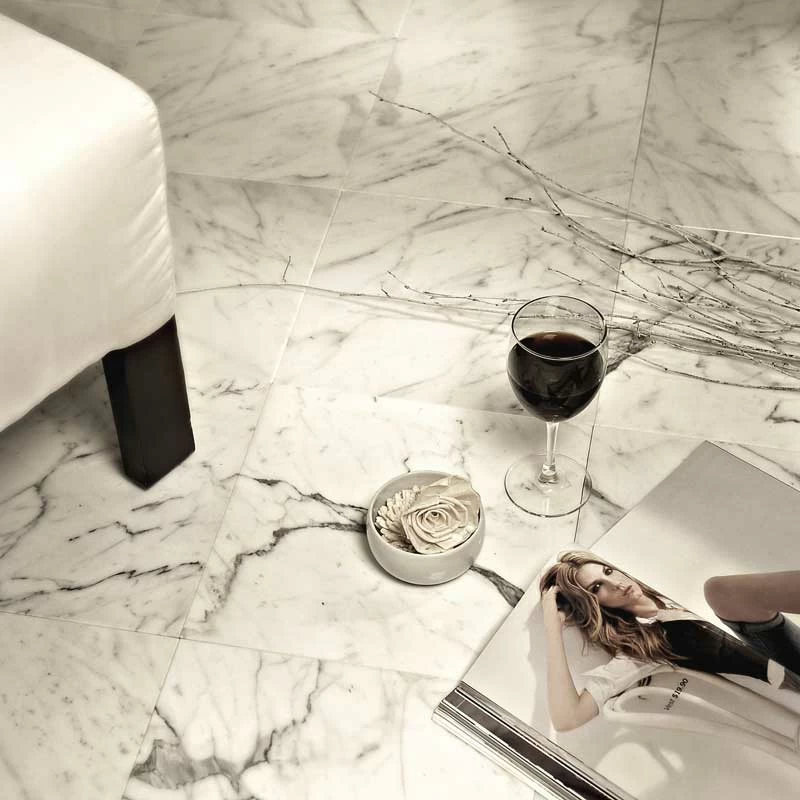
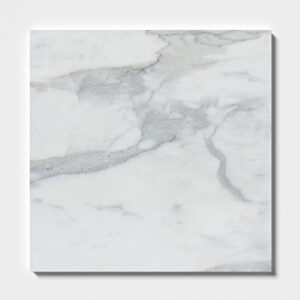
The Statuarietto Polished Marble Tile 12×12 is more than just a tile; it’s a slice of Italy’s artful legacy. Known for its characteristic veining and polished finish, this tile whispers tales of ancient Italian quarries and sculptures.
A Glimpse into the Italian Source
Originating from the renowned quarries of Carrara in Tuscany, Italy, the Statuarietto marble has been the choice of sculptors and architects for centuries. Carrara, with its vast marble reserves, has gifted the world with some of its most awe-inspiring masterpieces. Michelangelo’s David, an iconic renaissance sculpture, was born from a block of Carrara marble, a testament to the marble’s deep-rooted history in art and architecture.
Significant Architectural Marvels
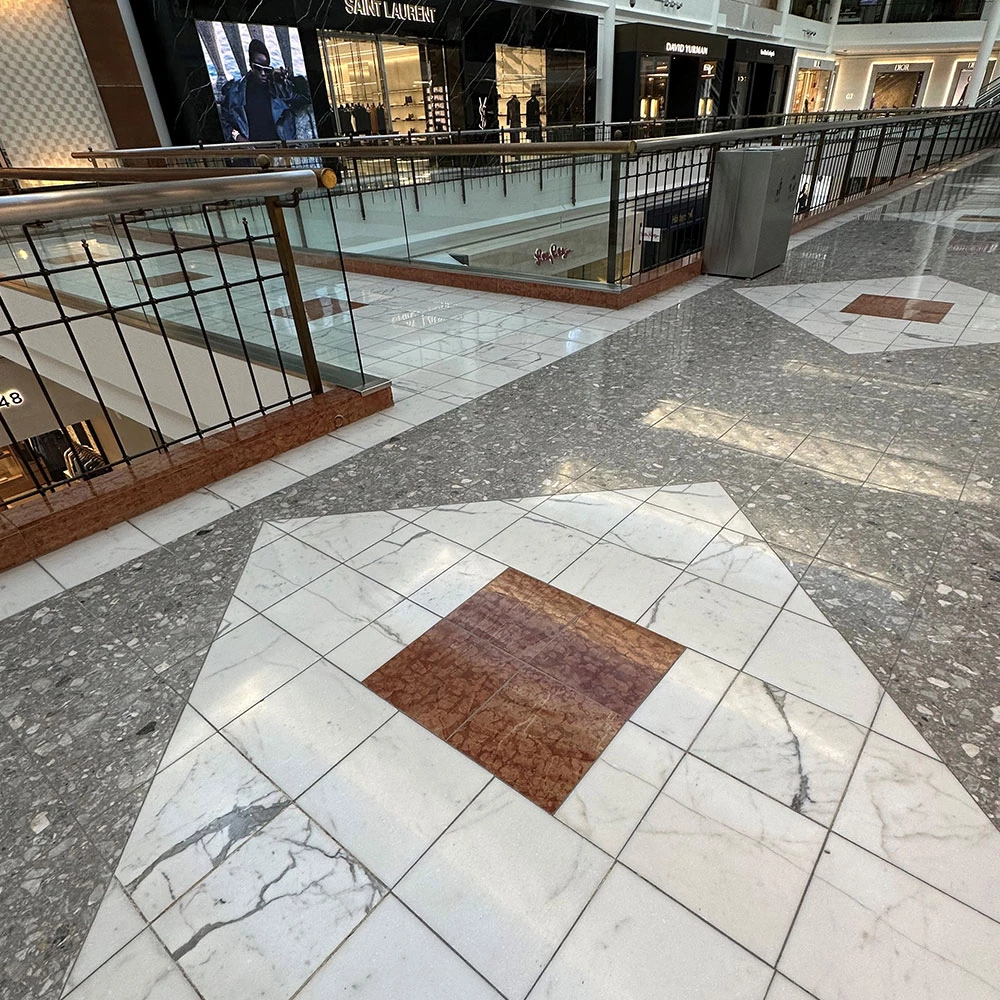
The versatility of the Statuarietto marble has led it to be featured in various iconic buildings and structures worldwide. From the intricate floors of European palaces to the countertops of contemporary homes, its presence is undeniably captivating.
Perfect Pairings in Design
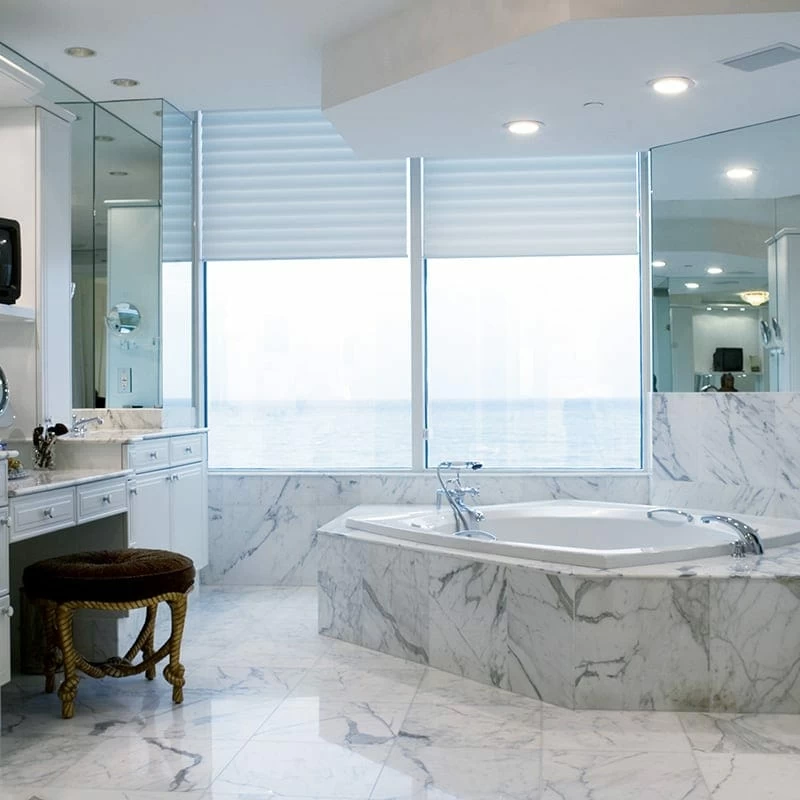
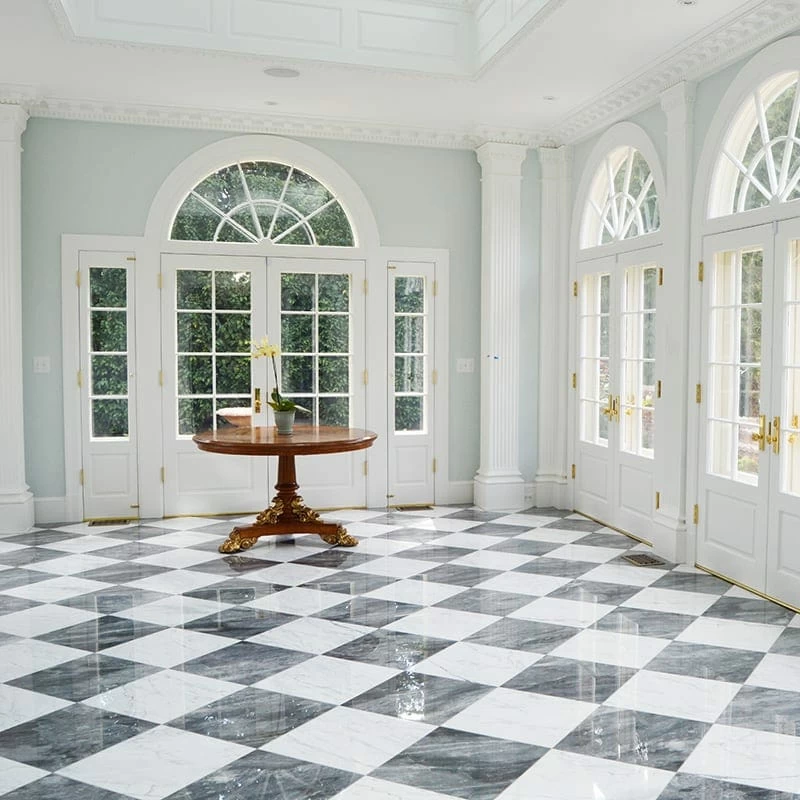
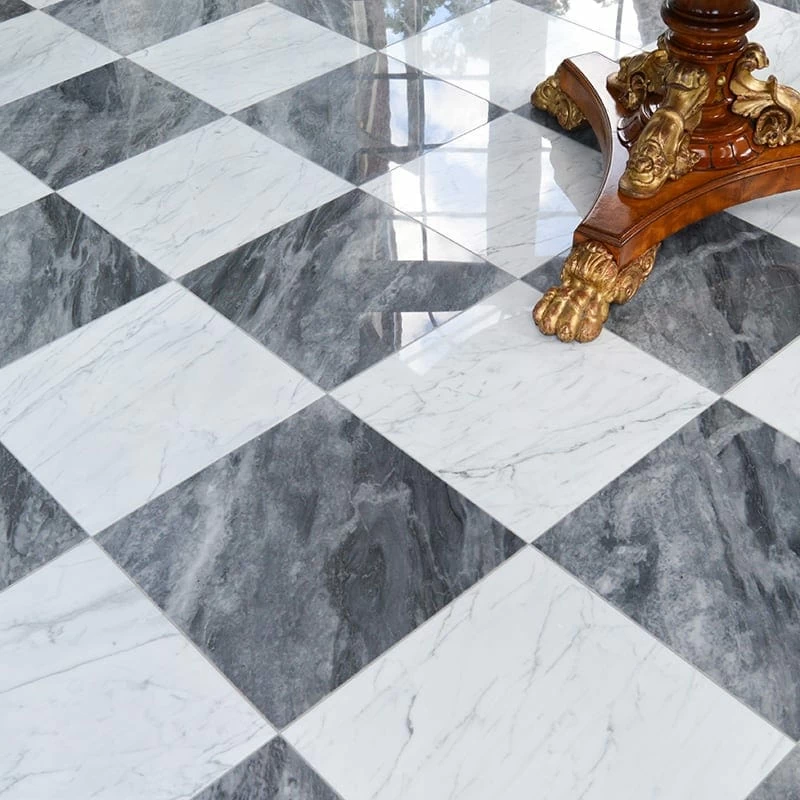
When considering architectural styles, this polished marble tile seamlessly fits into both modern and classical settings. Whether it’s the focal point in a minimalist space or part of a baroque-inspired interior, its distinct appearance always shines through.
Its polished finish and neutral palette make the Statuarietto marble a versatile choice for various design elements. Complement its subtle grey veining with muted shades like taupe or soft blue for a harmonious ambiance. For those aiming to achieve a more contrasting design, pair it with deep shades such as navy or emerald green; this ensures the marble’s features pop vibrantly.
Statuarietto Polished Marble Tile 12×12: Where Ancient Craftsmanship Meets Modern Design
The journey of the Statuarietto Polished Marble Tile 12×12, from the historic quarries of Italy to modern-day homes, speaks volumes of its unmatched beauty and adaptability. Adopting this marble tile means bringing a piece of art and history into your living space.
Specifications
| Item | Value | Item | Value |
|---|---|---|---|
| Size | 12x12 | Length | 12" |
| Width | 12" | Thickness | 3/8" |
| Weight | 5.56 lbs / sq. ft. | Coverage (sq. ft. / pcs) | 1 |
| Material | Marble | Color | White |
| Finish | Polished | Color Variation | V2 |
| Shape | Square |
Product Usage
| Usage | Applicability | Usage | Applicability |
|---|---|---|---|
| Residential Interior Walls | ✔️ | Commercial Interior Walls | ✔️ |
| Shower Walls | ✔️ | Outdoor Wall | ❌ |
| Backsplash | ❌ | Residential Interior Floors | ✔️ |
| Residential Light Floors | ✔️ | Commercial Interior Floors | ✔️ |
| Shower Floors | ❌ | Outdoor Floor | ❌ |
| Residential Countertops | ❌ |
Installing Floor Tile: Make it Last
Get the most out of your TMG product by following these helpful instructions for installing floor tile.
A Few Dos & Don’ts
- Tile may be installed over most structurally sound substrates if they are clean, smooth, dry and free of wax, soap scum and grease and other debris.
- Carefully read and follow all instructions and precautions on the adhesive or mortar package. Mix only enough to be used within 30 minutes.
- Since variation of shades is an inherent characteristic of ceramic tile, mix tiles from several cartons as you set, for a blended effect.
- Order extra material for cuts, spare tiles, and waste.
- If material is face taped, remove tape after installation.
- Be sure to calculate exact tile needed for your surface before installation.
- If you are short of material do not start installation until you have all the tile that blends. Additional shipments may not match the tile from previous shipment.
- If you do order additional tile for an older job be sure to match color lots before installation.
Installing TMG Tile: Step-by-Step Guide
Tile may be installed over most structurally sound substrates, if they are clean, smooth, dry and free of wax, soap scum and grease. Any damaged, loose or uneven areas must be repaired, patched and leveled. Remove any moldings, trim, appliances, etc., which could interfere with installation. Door jambs may be undercut for tile to slip under. We recommend waterproofing most floors to prevent surface seeping.
TMG AND ITS AFFILIATES ARE NOT RESPONSIBLE FOR ANY CLAIMS AS A RESULT OF THESE SUGGESTIONS. YOU MUST USE A PROFESSIONAL MARBLE INSTALLER AND PREMIUM SETTING MATERIALS.
Begin by marking the center point of all four walls. Snap chalk lines between the center points of opposite walls, which will intersect at the center of room. Make sure they're perfectly square, and adjust if necessary. Next, lay out a row of loose tiles along the center lines in both directions, leaving spaces for uniform joints (use tile spacers). If this layout leaves cuts smaller than 1/2 tile at walls, adjust the center line by snapping a new line 1/2 tile closer to the wall. Repeat along other center line if necessary. Now divide the room into smaller grids (approx. 2' x 3') by snapping additional lines parallel to center lines.
TMG AND ITS AFFILIATES ARE NOT RESPONSIBLE FOR ANY CLAIMS AS A RESULT OF THESE SUGGESTIONS. YOU MUST USE A PROFESSIONAL MARBLE INSTALLER AND PREMIUM SETTING MATERIALS.
Select the right adhesive for the substrate you're using. Carefully read and follow all instructions and precautions on the adhesive or mortar package. Mix only enough to be used within 30 minutes. Using the type of trowel recommended on the adhesive package spread a 1/4" coat on the surface of one grid area, using the flat side of the trowel. Do not cover guidelines. Next, use the notched side of trowel to comb adhesive into standing ridges by holding trowel at a 45-degree angle. Then remove excess adhesive, leaving a uniform, ridged setting bed. Don't spread a larger area than can be set in 15 minutes. We recommend using white good quality thin set such as Mapei, Laticrete, or Ardex. Some black marbles, white marbles, dolomites, and green marbles may have to be installed with Moisture sensitive thin set. Please check with the manufacturer.
TMG AND ITS AFFILIATES ARE NOT RESPONSIBLE FOR ANY CLAIMS AS A RESULT OF THESE SUGGESTIONS. YOU MUST USE A PROFESSIONAL MARBLE INSTALLER AND PREMIUM SETTING MATERIALS.
Carefully measure tiles to be cut and mark with a pencil or felt-tip pen. Make straight or diagonal cuts with a tile cutter, curved cuts with a nipper (chipping away small pieces for best results) and full-length curved cuts with a rod saw. Sharp-cut edges may be smoothed with a carborundum stone.
TMG AND ITS AFFILIATES ARE NOT RESPONSIBLE FOR ANY CLAIMS AS A RESULT OF THESE SUGGESTIONS. YOU MUST USE A PROFESSIONAL MARBLE INSTALLER AND PREMIUM SETTING MATERIALS.
Variation of shades is an inherent characteristic of marble, stone and ceramic tile – mix tiles from several cartons as you set, for a blended effect. Begin installing tiles in the center of the room, one grid at a time. Finish each grid before moving to the next. Start with the first tile in the corner of the grid and work outward. Set tiles one at a time using a slight twisting motion. Don't slide tiles into place. Insert tile spacers as each tile is set, or leave equal joints between tiles. Fit perimeter tiles in each grid last, leaving 1/4" gap between tile and wall. Any rectangle porcelain should never be set in a running bond pattern, rather no more than a 1/3 overlap; the joint should be widened to 3/16" and use of a large unit porcelain mortar should be employed. When grid is completely installed, tap in all tiles with a rubber mallet or hammer and wood block to ensure a good bond and level plane. Remove excess adhesive from joints with a putty knife and from tile with a damp sponge. Do not walk on tiles until they are set (usually in 24 hours).
TMG AND ITS AFFILIATES ARE NOT RESPONSIBLE FOR ANY CLAIMS AS A RESULT OF THESE SUGGESTIONS. YOU MUST USE A PROFESSIONAL MARBLE INSTALLER AND PREMIUM SETTING MATERIALS.
Generally, you should wait about 24 hours before grouting (refer to the adhesive package for specifics). Carefully read and follow all instructions and precautions on the grout package. Make only enough to use in about 30 minutes. Remove tile spacers and spread grout on the tile surface, forcing down into joints with a rubber grout float or squeegee. Tilt the float at a 45-degree angle. Remove excess grout from surface immediately with the edge of float. Tilt it at a 90-degree angle and scrape it diagonally across tiles. Wait 15-20 minutes for grout to set slightly, then use a damp sponge to clean grout residue from surface and smooth the grout joints. Rinse sponge frequently and change water as needed. Let dry until grout is hard and haze forms on tile surface, then polish with a soft cloth. Rinse again with sponge and clean water if necessary. Wait 72 hours for heavy use. Don't apply sealers or polishes for three weeks, and then only in accordance with manufacturer's recommendations. For travertine tiles, materials with holes, aqua forte etc. use a grout release before grouting. You can also a sealer before grouting. This will help you clean the grout easier.
TMG AND ITS AFFILIATES ARE NOT RESPONSIBLE FOR ANY CLAIMS AS A RESULT OF THESE SUGGESTIONS. YOU MUST USE A PROFESSIONAL MARBLE INSTALLER AND PREMIUM SETTING MATERIALS.



Reviews
There are no reviews yet.